Contents
Old Coal Face Support Methods. Part 1.
When coal is removed from a seam, it's natural for the roof to lower, as it attempts to fill the area where the coal was previously.
Supports are set to try to control the roof, so men can work safely.
Various types of supports were used.
· Props made of wood or steel.
· Straps or bars.
· Nogs.
· Chocks.
· Sprags.
· Packs.
Contents
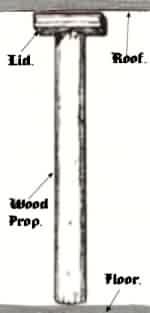
Wood props are cut from trees such as Spruce or Fir's that are round.
A general rule was that a prop should be 1 inch in diameter for every foot in length. E.g. a 5ft. long prop would be 5 inches in diameter.
It was thought that wood props such as that would support 20 tons before it broke.
Props less than two and a half inches in diameter were never used even in very thin seams.
Wood Prop.
Contents
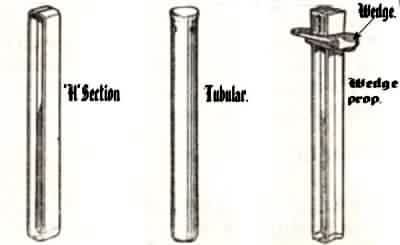
Steel Props.
"H" section.
Tubular, sometimes filled with wood.
Many steel props had special heads and they incorporated a steel wedge that helped to set the prop tight to the roof.
Steel props were stronger than wood props. They were not damaged easily so they could be used many times over.
Steel Props.
Contents
Lids.
A lid is a piece of wood placed at the bottom or top of a prop. It spreads the support that the prop gives; it also crushes more easily than a prop, which allows the roof to lower slightly without damaging the prop.
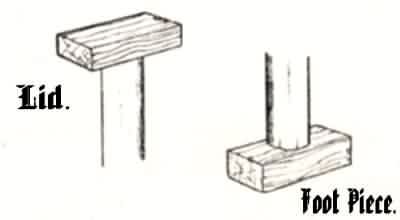
Lids should always be used between props and steel bars as they reduce damage to the props. When using steel bars along with steel props a lid also reduces the chances of a prop slipping.
Contents
Bars.
Bars can be made of either wood or steel. They can vary in length from 4ft. 6 ins. to 7ft.
Two or more props are set under the bars to hold them tight against the roof.
They are more stable than props and lids, and support a larger area of roof.
Wood bars.
Wood bars are props cut down its length, and are thus half round (often called split bars).
The flat piece of the bar is placed against the roof, with a props placed under the half round piece.
Rectangular Bars are also used.

Steel Bars.
Steel Bars could have a corrugated section this gave them greater strength than flat bars.
They are more durable than wood bars; if they are bent they can be straightened with a purpose made device, and reused many times.

Steel channel bars or "H" bars are also used. They are better for supporting a bigger area.

Contents
Chock Nogs.
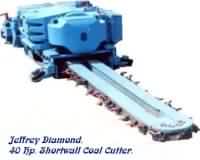
After a coal-cutting machine cuts a face, wedges of wood or steel (nogs) are forced into the cut to support the coal.
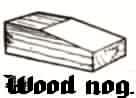
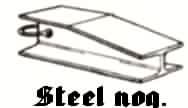
"L" shaped nogs are sometimes used as these support the front of the coal as well as the bottom.
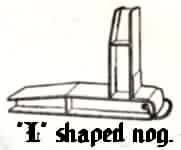
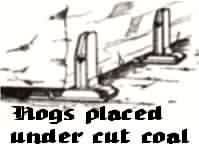
Contents
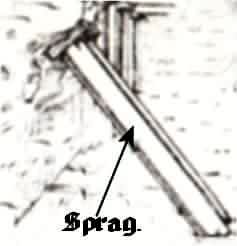
Sprags.
Sprags or stays are used to prevent overhanging coal or stone falling unexpectedly onto workmen.
Contents
Chocks.
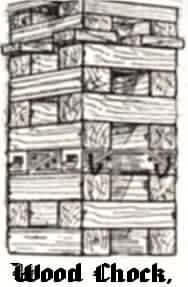
Chocks are used to provide better roof support in some areas.
Chocks are strong and stable.
They are usually constructed with pieces of hardwood; e.g. Beech or Oak.
They are about 2ft. long by 6 ins. square.
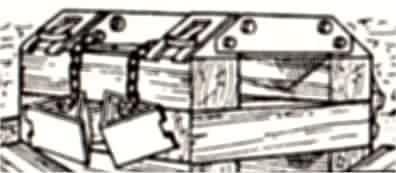
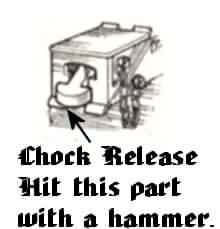
Sometimes the chocks were used over and over; as the face advanced the chocks were withdrawn and rebuilt. To make this process easier a special device called a chock release was built into the chock. This was needed because the roof would settle onto the chock and become very tight.
Contents
Packs.
Packs are used as permanent roof supports; they're constructed using waste stone.
Some faces incorporated a system of "strip packing". The packs were built three to six yards wide and were positioned at the edge of the waste (goaf) area at various intervals throughout the face.
The roof between packs and any temporary supports was allowed to collapse.
Sometimes in areas were coal was removed from under very important places all the goaf area was filled with debris. Referred to as "solid packing".
Numerous faces had no packs at all except at the face ends. The whole roof behind the face was allowed to collapse at will. This system was known as "caving".
Nearly all the packs were hand made, but sometimes machines were used.
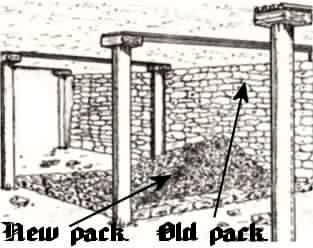
Basic method of constructing hand made packs.
· Lay foundation stones on a clean floor.
· Throw dirt (stone rubble) up to level of foundation stones.
· Spread small dirt on top of the foundation stones to act as bedding for the next
..layer of wall stones.
· Put the next layer of wall stones in position, crossing over the joints of those below.
· Continue this process until it is up to the roof.
· Make sure the dirt is packed to the roof before the last wall stones are placed in
..position.
Contents
|