


 |

|

|

| |
 |
 |
|||

October, 1960
Traffic Control at the Hawthorn combined mine
Drawings and Photographs accompanying the article
| Sample | Description |
|---|---|
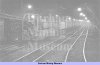 | Fig. 1. "Fulls" cars arriving at Hawthorn pit bottom |
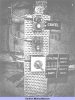 | Fig. 2. A view of the driver’s route selection point at Signal No. HL6 |
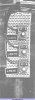 | Fig. 3. View of driver’s control point at Signal No. HL9G for selection to the areas shown. The top plunger-control is for release purposes when drivers have selected the wrong route in error |
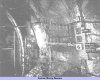 | Fig. 4. A general view of the relay cabinet, signal and driver’s route selection point associated with Fig. 2 |
 | Fig. 5. Isometric drawing showing the roadways linking Murton and Eppleton collieries with the new Hawthorn shaft |
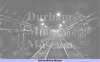 | Fig. 6. View towards Hawthorn shaft bottom from despatcher’s cabin area |
 | Fig. 7. Another view of Fig. 6 in opposite direction |
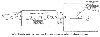 | Fig. 8, Track layout (lower level) showing areas covered by individual schematic circuits |
 | Fig. 9. Track layout outbye of marshalling point "Z" |
 | Fig. 10. Track layout at marshalling point "Z" |
 | Fig. 11. Track layout at 69B East and West offtakes |
 | Fig. 12. Track layout for Eppleton Colliery — Lindsay shaft |
 | Fig. 13. Track layout at Hawthorn shaft bottom-lower level |
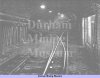 | Fig. 14. View of exit roads from Hawthorn pit bottom (despatcher’s cabin on right) |
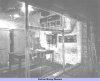 | Fig. 15. A view of the despatcher’s cabin (Hawthorn lower level) |
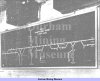 | Fig. 16. Close-up view of mimic diagram shown in Fig. 15 |
 | Fig. 17. Track layout at East/West junction — upper level |
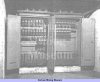 | Fig. 18. View of typical relay cabinets showing transformers mounted above |
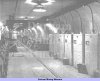 | Fig. 19. View showing one of the locomotive battery changing and charging stations (Eppleton Colliery) |
 | Fig. 10a. Track layout at marshalling point "Z" |
 | Fig. 10b. Track layout at marshalling point "Z" |
Article reproduced from a copy of the magazine held at National Mining Museum Scotland, Newtongrange, Midlothian.




 Contains public sector information licensed under the

